My Awesome followers!

Showing posts with label Digital Stamps. Show all posts

Thursday, February 3, 2011

LINDSAY STAMP STUFF VALENTINE SWEET SALE!


LINDSAY STAMP STUFF VALENTINE SWEET SALE
EVERYTHING 30 % OFF.
FEBRUARY 3 - FEBRUARY 6TH
SALE ENDS 6TH MIDNIGHT

Shop link: http://www.mygrafico.com/lindsay-39-s-stamp-stuff/aff_100.html


Tuesday, February 1, 2011

Tuesday Tutorial! Embossing & Color Pencil Tutorial.

Hello again everyone thanks for stopping by for my Tuesday Tutorial!
I am busy  preparing for the bad snow storm at the moment
 so this is a bit later than I orignally planned Sorry!
Yesterday I shared my Dilek Cute panda bear  card 

which is what I am going to  use as my tutorial card...
 For this project  I am using Prisma Colored Pencils...
I love this particular brand so much.
All the pencils give you a really good quality color coating &
 are fabulous to blend together with a clear blender pencil.
I don't know what other pencils give you as good a quality final image  because 
I have always used these no need to  try others when your happy with what you have. ;)

 If you want to  shout out what colored pencils you like to use then add a comment and I will add the suggestions to the instructions for future readers! =D
Thanks!
~~~~~~~~~~~~~~~~~~~~~~~

For this project I first used my Cuttlebug dry embosser to emboss my card topper (simple cardstock)
First  measure the card &  topper to fit the embossing folder you are using.
 Make sure the cardstock fits the embossing folder
Next Place the cardstock topper in the embossing folder
Then place your embossing folder in between the Cuttlebug plates
For embossing folders sandwich stack is ( Plate A , Plate B Embossing folder, then Plate B)
If you use thin paper then you  may also need to place a shim to make it thicker.
Place the stack in the Cuttle bug then roll it through. Sometimes you have to give it a shove as you  go. =D
Next You get to color! Yay!
Now  to start off you will need your colored pencils & a clear blender pencil.
(some people use Gamisol or baby oil to blend as well)
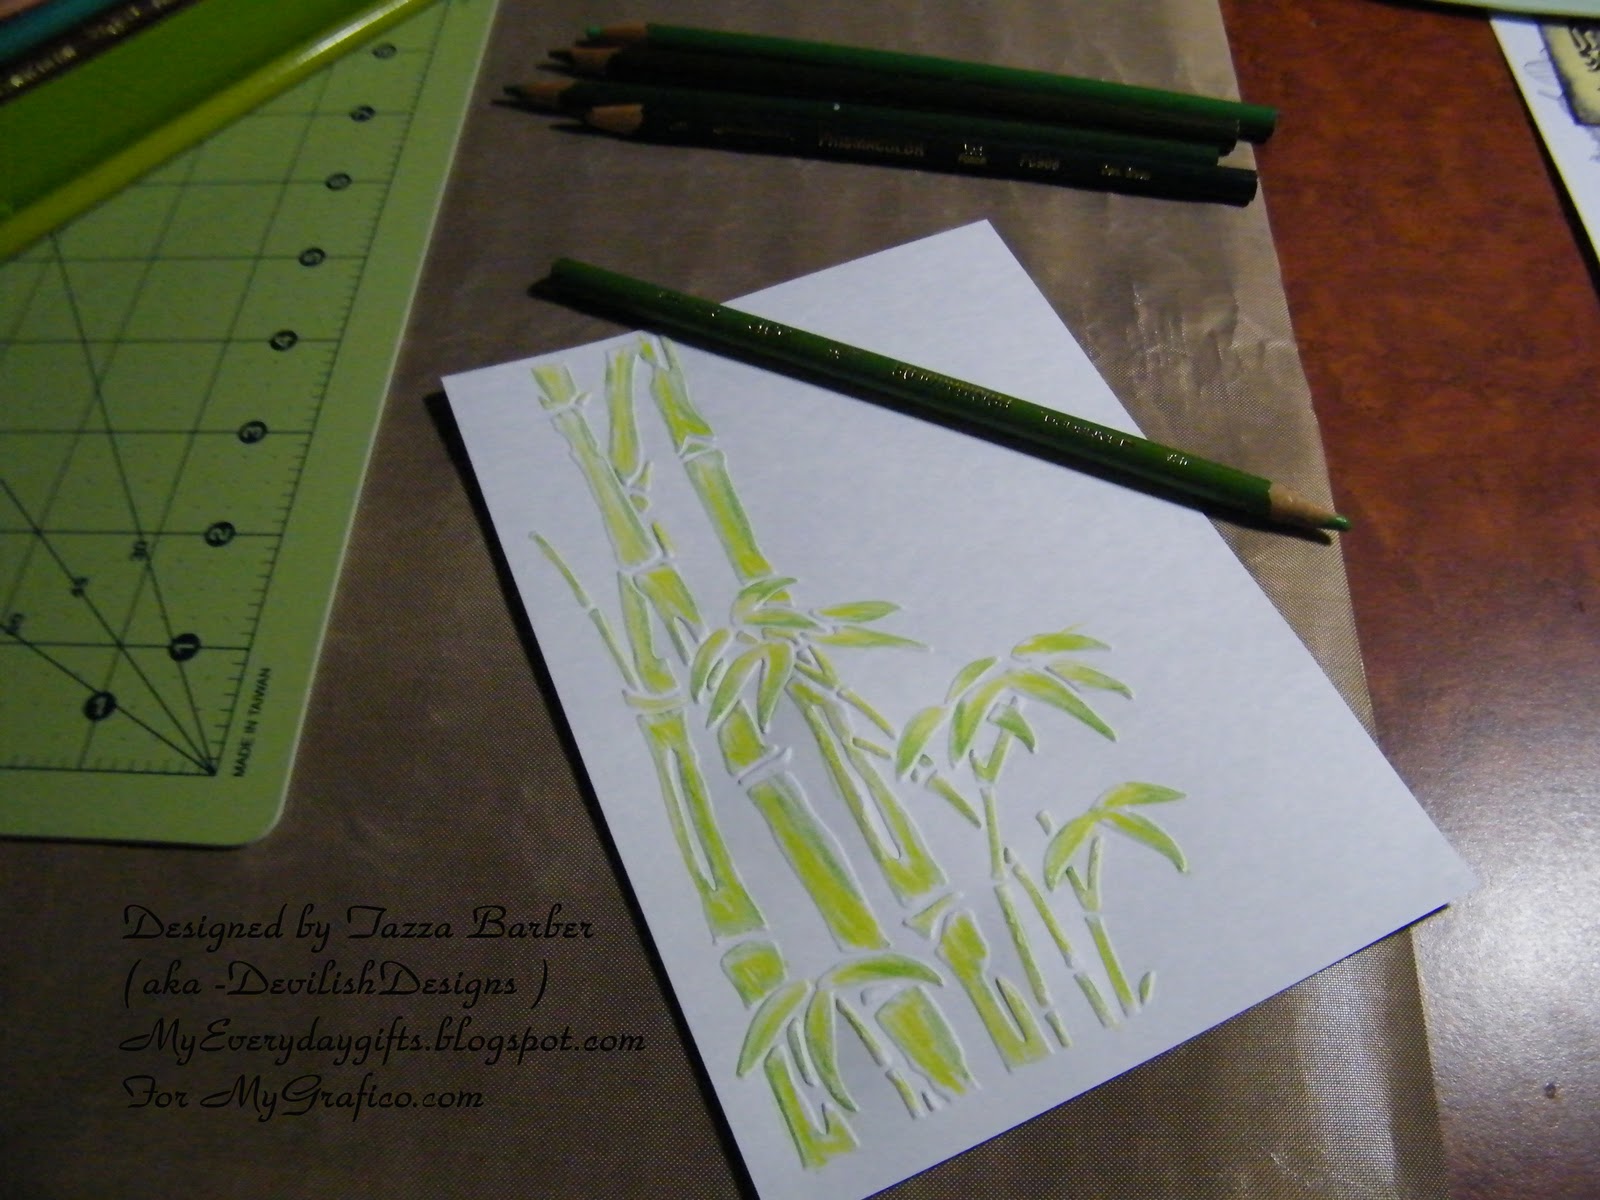
I started out coloring the raised embossed cardstock design
with the lightest color first.
You  are just  going to  color the part that you want to be the lightest  part
 of the final design.
Next move on to the next darker color in the color and pencils you have chosen.
You want to color how you want the dark shading to show.
keep going with the next color in the shading in your color group.
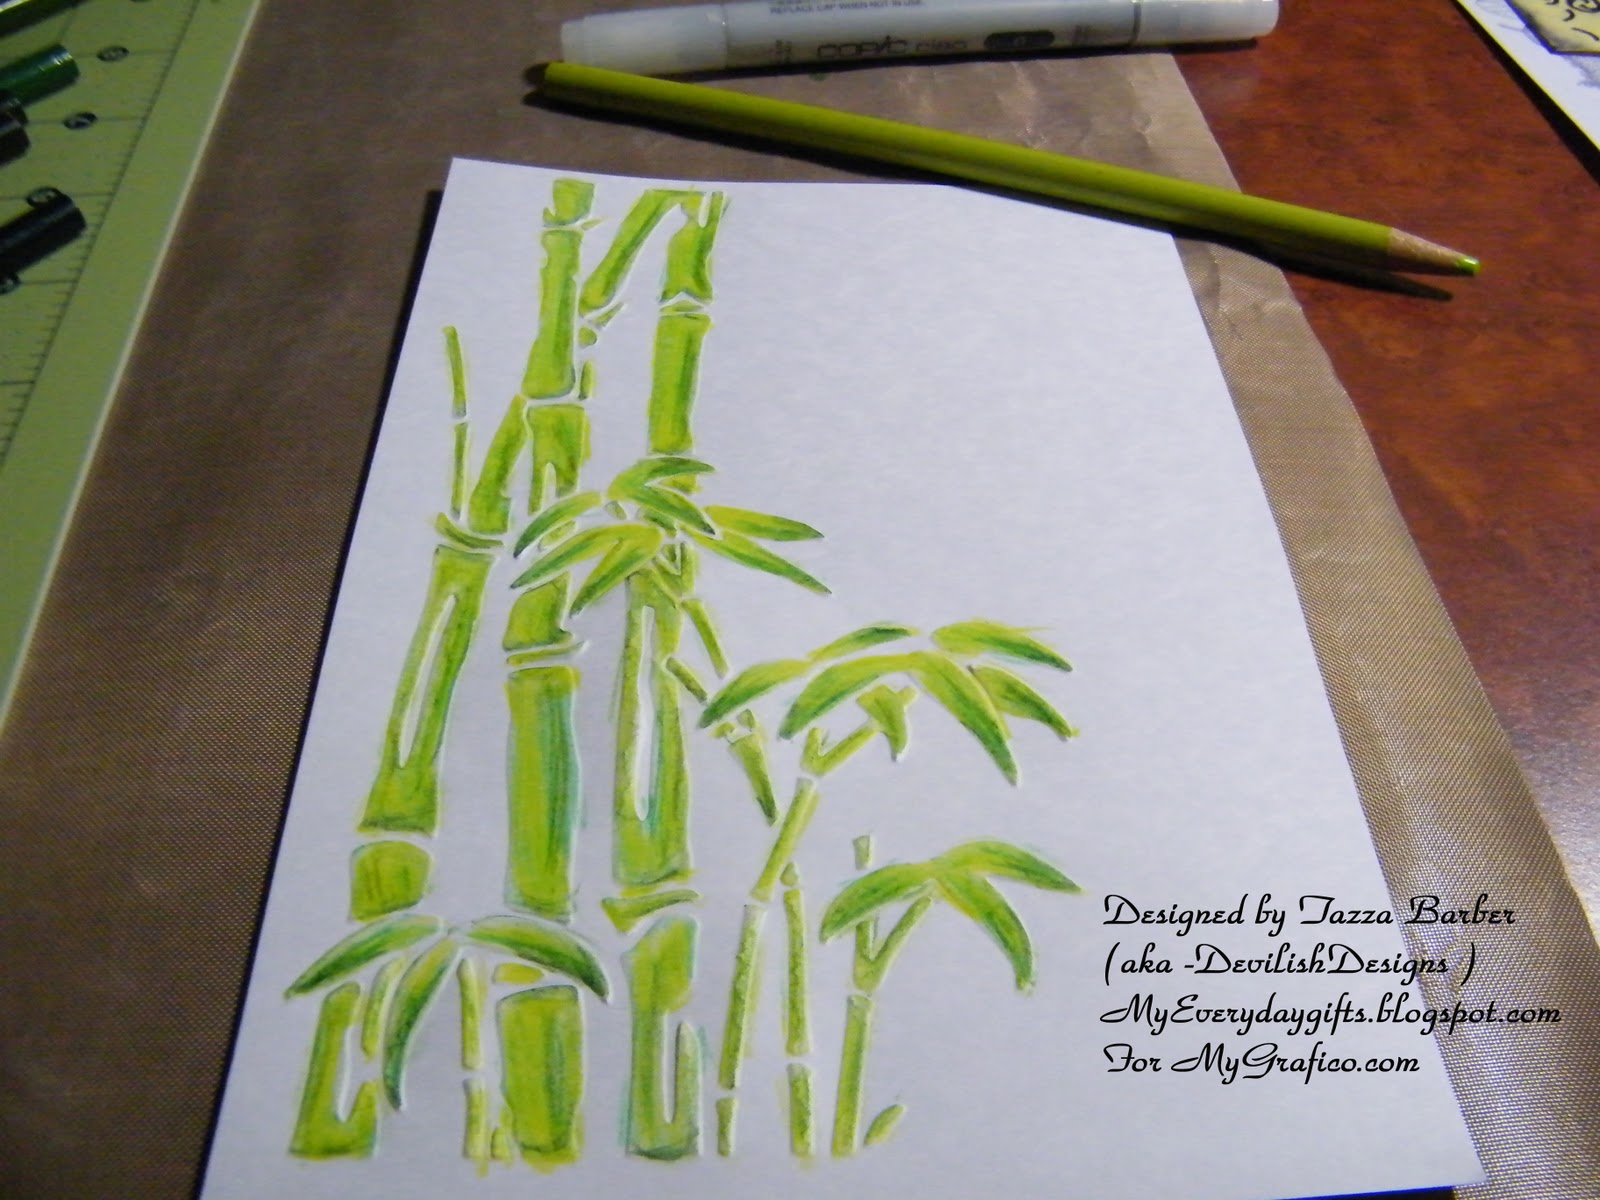
As you can see  the bamboo is starting to look very good with highlights & low lights.
I like to play around till I like how the colors look together.
but I always go light to dark  you can always go darker but it is hard to go back to lighter.
you can  use your lighter pencils to blend the colors together or use the
clear blender pencil ( or gamisol or baby oil)
when your done  with all the colors just go over a few of your darker spots a bit check that you haven't missed a spot you want colored  then...
go back over the whole image with the clear blender pencil  to  blend and smooth the colors together for
a final time to  clean up any  missed sections or rough edges...
Then your off to start the next part which is for me the Panda bear...
now I just colored it with Black really dark and no shading but if you wanted to have shading you  would use you lighter colores such ans white and greys first...
You can see my final panda here...
After I colored the panda I mounted it to the card  with some raised foam tape.
then added some Viva Decor glass effect gel to the leaves to add some interest.
I also stamped the autumn leaves sentiment to the side & layered the card topper on some black cardstock to give it a bit more definition.
Once again the final result.


OK  so that  is it for this tutorial today!
I hope to cover more coloring tips and techniques soon!
Hope this has inspired you to pull out those coloring pencils and  color to your hearts content!
 Don't forget to join our new Anything goes Challenge!
 A whole month of anything goes ! whoohoo!
Just add your entry  link to the linky tool  at the top of the page!
Thanks and have a Great Day!


Monday, January 31, 2011

MyGrafico Monday's Anything Goes challenge!

Well we had a great time yesterday at Chucky Cheese for Rory's 2nd Birthday! 
Still can't belive it has been  that long since he was born.. My  how time flys! 

Anyway, Thanks for stopping by today
 for the MyGrafico Monday Anything Goes Challege!
today is the last entry day for this months but  don't worry  the next one starts tomorrow !
I am loving the month long challenge... and seems all of you  do to! We have had so many  entries I am actually overwelmed trying to reply to them all! =D not that I am complaining!  I am very happy that the change has been so successful!
 I love anything goes challenges! =D
LOL...

Ok so this week  we got to  work with the
 They are $3.00 ! That is such a great deal for these cuties!
They are really good quality digital stamps.
=D
Anyway...when I made this card I wanted a really clean look to it  and I love how it turned out.
In addition to the digi stamp (which I popped up with scotch foam tape)
 I used the Cuttle bug Asian embossing set -  Bamboo folder
isn't it the cutest! 
 I love how it turned out once I colored it with Prisma colored pencils...
I then addded Viva glass effects to the leaves.
 I also used Autumn leaves clear stamp set - "Forever " for my sentiment on the side.

 I have a "coloring" picture tutorial that will be on the MyGrafico challenge blog and on my own blog here on Tuesday! So check it out if you want to see step by step how I made this card. =D

 Oh and don't forget today  is the last day  for this months Anything Goes Challenge!
 But don't worry another one will be starting on the first for the whole month! 
 Join in & have some fun.. The more entrants we get the more prizes to be given out!

Hope to see you all joining in soon! Good Luck! =D

Wednesday, August 25, 2010

MyGrafico Challenge #63

Welcome to  the MyGrafico Challenge #63!

 I have had a crazy week how about you?
First I come back from vacation to find my blogger post are all messed up!
Now...
Griffin has his first day back to school!
Aggggghhhhhh! My little guy Rory is going to miss his big brother.
I hope I can survive... LOL

Anyway...
Back to the Challenge!

Our Challenge this week is Halloween Colors and we have an Inspiration photo you can find that a bit lower.. =D
This week we are using 2 digital singles by Cherie Reve.
The other one is called it Halloween little flower girl shares candy.

 
They are both so cute! I just love them. Don't you? =D
 Join us at the Challenge blog and enter to win these stamps for free!
http://mygraficocrafts.blogspot.com/

We had an Inspiration photo
I was inspired and made a few things... I love halloween.
I have a few Creations to share today...


I also used some digital paper  also found at MyGrafico  for the first 2 items..
the card and the candy bag topper.
 

Thanks for stopping by!

Sunday, August 8, 2010

Freebie Sentiment set

I made this sentiment set a while back for some cards I was making.
I hope you can use it , This set is my first attempt to make sentiments like this...
   Normally I just find someones Else's freebies
but I couldn't find what I was looking for so made my own.D
 Free & Available here till Wednesday's am post then it will be gone.
 Let me know if you like them , Thanks!

Freebie Sentiment set
Available from 8/8/2010 - 8/10/2010

just click on the image & right click on it to enlarge and copy.


This will fit on your 8.5 x 11 Standard  paper for the printer.  I would double check with a print preview just to make sure it is correct before I printed it out but it fits mine perfect. and I have made it so you cut it in half and then you cut each sentiment out separately...( at lease this is how I did I anyway)

Thanks for stopping by my blog hope you enjoy !
=D

Saturday, August 7, 2010

Robot Birthday card

Hello!
Happy Saturday...
=D
Today's  I am Sharing a Birthday card made 
( just click on the link to get to the Tiddly Ink store)
this is only 2.00 !
Such a cute image sure to be used many many times.  
I can just imagine adding a bow or a butterfly to the robot 
& TaDa its a girl robot!
=D


I used some grey card stock & some turquoise scrap card stock
hehehe... yup some of that pile of paper from Walmart once again...
I will make my way through it if it kills me!
I used the blender pen and made the surrounding outline blurred,
 added white gel pen highlights to the robot ( they are a bit harder to see in the photo)


The Nuts and Bolts are from the Sara Paris Style robot stamp set..
It's a super cute set with a few cute extras.
The Circle Happy Birthday is by DDDivas ( sorry no link as it was a freebie during a challenge)

I used my new circle cutter to cut the whole image out
 (2.00 at a garage sale, I love when I find something scrap worthy at one!).


I like it, very clean and simple card for a guy.. 
Which as we all know Guys can be super hard to make cards for.
I think the guy ( or Boy ) who receives this card will like it.

I hope you do, let me know what you think !
Thanks for stopping by!

Freebie alert !! Freebie alert !!
Freebie coming tomorrow!!
Make sure you come back to see what I have for you!

Wednesday, August 4, 2010

Mygrafico Challenge #60

Hi Again!
Thanks for stopping by for MyGrafico's Weekly Wednesday Challenge!
your in for a treat today...
This week our Challenge is
Vintage.. so add some vintage appeal or distress your edges with ink or with a tool.. whatever you think looks the vintage part... have fun and happy crafting!


This week the team worked with the


you could win this set all to yourself!
and
the winner gets a Saturday spotlight feature!
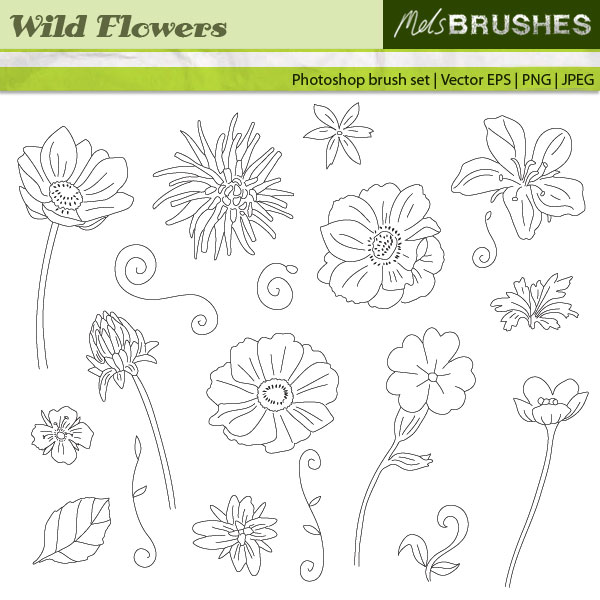
I just love this set the flowers are so lovely...


A Great perk to this set is that they are also Brushes! Whoo Hoo!
Love, love, love... that!


**EDIT**

Here is my Card... Hope you like it!

I distressed edges slightly with charcoal ink &
 distressed the orange cardstock with the Tim Holtz tool.

I used my copics to color the stamped image
 and then to get the mottled sky I used a blender pen and
dotted the area I wanted to be softened.
This is a very forgiving technique that anyone can do.

I  stickled the flowers and the sentiment is from TLC Creations.. link to store... 
or the blog... TLC Creations


Stop on by the Design teams  Blogs to see what they have come up for this weeks Challenge.
I know you will love all of them... Fabulous stuff I have to say.

Visit the NEW Challenge blog  to link your card to the LINKZ ...
 you can have a chance to win a guest Design team spot! 
See you there!  

Sunday, January 24, 2010

I Love Digi Challenge Blog

I heard about this new Challenge Blog and had to check it out ...

Good Thing I did too!
I  think it will be fab. and I am hearby entering their design team call... Just About Everything I Post to my blog is Digital stamps and cricut stuff sooooo check out  what I have to offer  =D

Hope I get on but if not I will still be following and playing along cause as you know I love Digi !
Go check the I Love Digi Challenge Blog , Follow
&
heck if your game...
 throw your name in the hat to join the Design team!
Look forward to all the fun!

Scrapbooking & Crafting Friends Design Team Challenges

Hi again !
I got busy and didn't get a chance to post these till now.  Sorry about the wait  But I hope you enjoy!   

 DT is Sponserd by MyGraficO and the Images we used are from this Great set
Perfect for Valentines Day!


The Challenge for the Altered Go Green/Machines Design Team
was Cake/Cupcake


Additional details :
Colored with Prisma markers
Embossed with Embossing powder & Glitter

Punches = Swiss Cheese (EKsucess) & Cupcake (Miss Elizabeth)
 Stampin up orchard opulance inked edges
Stickles=Various colors


The Mini Projects Team  Challenge was Cherries/Cherry
Once again the same stamp set was used


Additional Details :
Colored with Prisma markers,
Glitter mist = lime green
Edges inked with Martha Stewart ink,
Various ribbons from stash,
Martha Stewart punch around the page three dot scallop


For the Card Creation Team Challenge
we had to use Hearts & the colors Red / Purple
&


Additional Details :

Colored with Prisma markers
Stickles=Various colors
Punches = Martha Stewart Punch around the page Rings & Various Heart punches
Alpha Brad 
Cuttlebug folder = animals
Thanks for stopping by don't forget to stop by tomorrow
 for the MyGraficO Design Team Hop!
I have a Super Cute Mini Album to share & a Adorable Card
I'm sure you will likey!=D
See you then!